Push-ups from scratch: wall to floor
Pick your push-up level and the rule for moving up, without jumping straight to the floor. Plus technique, elbows, lower back and when to stop a set.
Contents
How to choose your level in one minuteGeneral technique at every levelThe ladder: wall, table, knees, floorHow many reps before moving upElbows: why flaring hurts progressLower back: push-ups are a moving plankHow often and where to fit it inPush-ups do not have to start on the floor. If your body sags, shoulders creep toward your ears and you shake after two reps, the level is too hard.
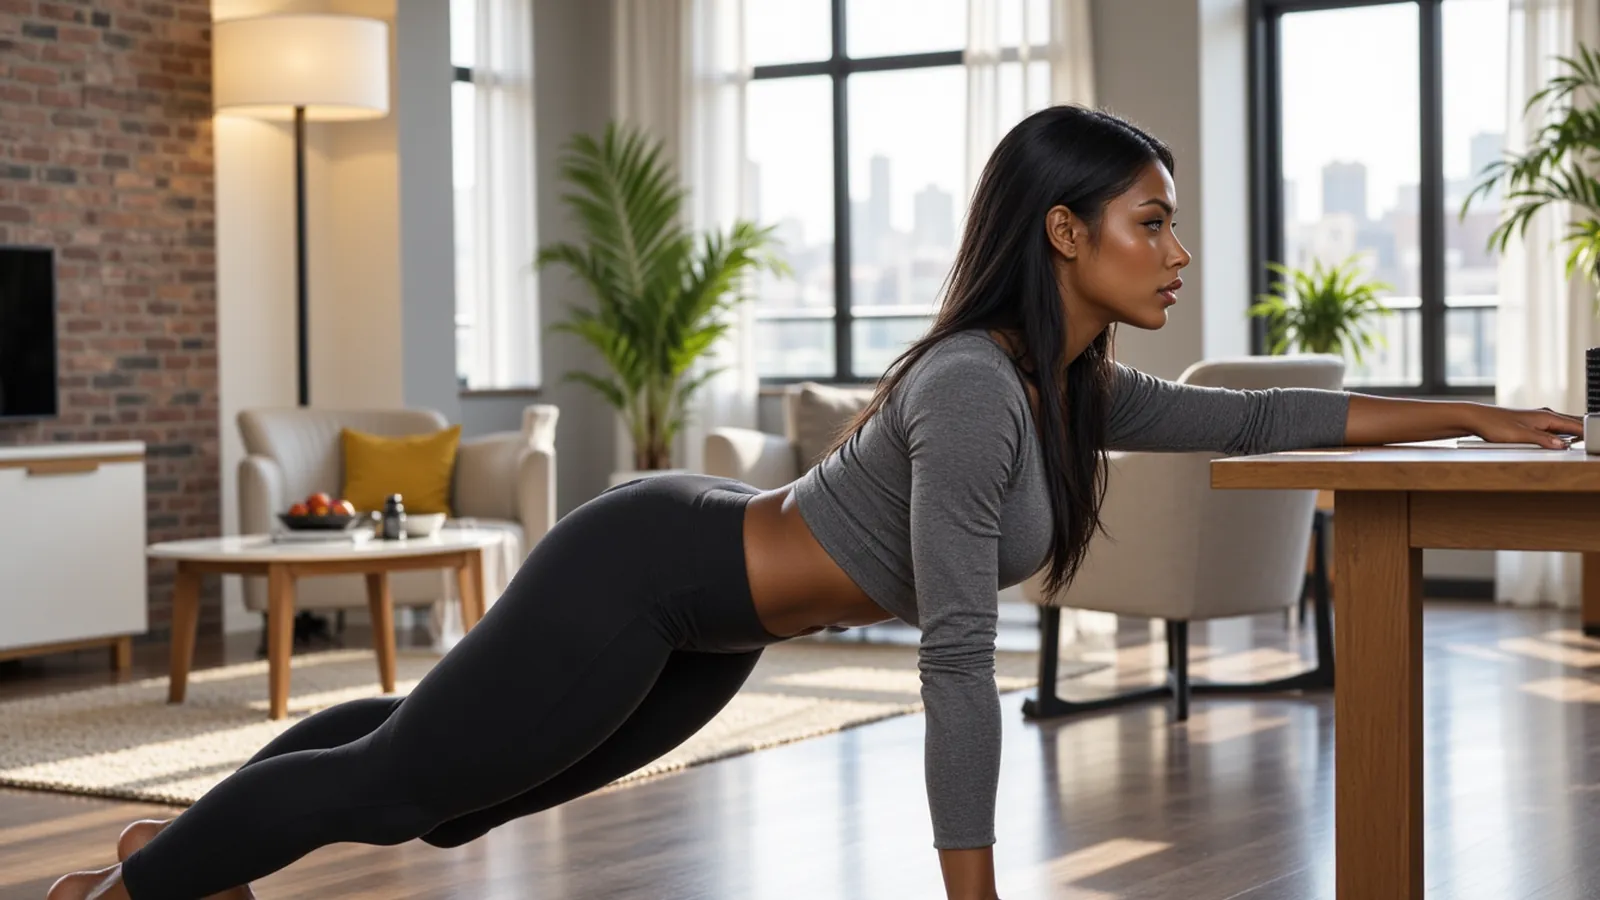
The working path: wall, table, knees, floor. The technique stays the same. Only the body angle changes. As the angle changes, so does the load on your arms. Starting on the floor often breaks form and overloads the lower back, while the wall lets you do clean reps and make progress.
How to choose your level in one minute
Do not guess. Test in this order.
- Get into a full plank on your toes, hands under your shoulders. Hold the top position. If your lower back drops straight away or you cannot keep a straight line even without bending your arms, the floor is too soon.
- Drop to your knees. Do 5 slow reps. Does the line from head to knees stay solid and elbows stay tucked? This is your starting point or close to it.
- If the line falls apart on your knees, put your hands on a sturdy table or windowsill and walk your feet back.
- If that still feels heavy, start at the wall.
| Level | Support | This is your level if |
|---|---|---|
| Wall | vertical wall | floor and knees break your body line |
| Table | table, windowsill, kitchen counter | wall feels easy, knees still too soon |
| Knees | floor, knees-down position | table is already light, toes cause lower-back sag |
| Floor | floor, full plank | 3 sets of 8-12 from knees feel solid |
Between table and knees you can adjust the height of the support: the flatter your body, the harder it gets. A kitchen counter is harder than a windowsill. A sofa seat is harder than a counter. Skip chairs on wheels.
General technique at every level
The rules are the same from wall to floor. Learn them here, then apply them to your support.
Setup
- The support is steady. The mat does not slide.
- Hands roughly under the shoulders or slightly wider. Fingers point forward.
- Create one straight line through the body. Ribs slightly down, as if bracing for a cough. Glutes lightly engaged so the hips do not sag.
- Neck stays in line with the spine. Gaze at the floor or wall in front, not at the ceiling or your stomach.
- Before the first rep, hold the top position for 10-15 seconds. If the lower back already drops here, the level is too early.
Movement
- Inhale, bend the elbows, chest moves toward the support. Lead with the ribcage, not the nose or hips.
- Elbows travel back and down, not straight out to the sides. Aim for roughly 45 degrees from the body rather than a straight line with the shoulders.
- At the bottom the chest nearly touches the support or stops a couple of centimetres short if that feels better on the wrists. Hips neither overtake nor lag behind the chest.
- Exhale and press back up. Shoulders stay away from the ears. Elbows stay soft at the top, no locking.
How to know you are doing it right
Film yourself from the side. Head, ribs, hips and the contact point of the feet (heels, knees or toes) should stay on one line. The line does not break at the bottom. Elbows do not form a T. Shoulders do not shoot up to the ears.
Quick check without video: at the top you do not feel a break in the lower back; at the bottom you do not fold at the hips. Breathe on every rep.
Common mistakes at any level
- Elbows flare out to shoulder height. This usually stresses the front of the shoulder and reduces chest and triceps work.
- Lower back sags, stomach drops toward the floor. Load shifts into the lower back.
- Hips pike up. You shorten the lever and hide from the work.
- Head drops or lifts. Neck tires before the arms.
- Tiny range and counting "I did 20". Only count reps where the chest actually moves closer to the support.
- Holding your breath through the whole set.
When to stop a set
The body line breaks and you cannot fix it within one rep. Elbows flare and stay out. Shoulders lock near the ears. Sharp pain, joint burn or numbness appears. Six clean reps beat twelve sloppy ones.
Sharp pain in the neck, chest, shoulder, wrist or lower back, pins and needles or numbness in the arm: stop at once. Do not push through. If the lower back sags even in the static hold, move back up a level. Skip push-ups from a chair on wheels.
The same straight-back logic applies here as in squats without mistakes: first lock the neutral line, then add depth and reps.
The ladder: wall, table, knees, floor
Wall push-ups
Face the wall. Hands at chest height, slightly wider than shoulders. Feet roughly an arm's length away. The farther the feet, the harder the move. Body forms a straight line from head to heels; you can lift the heels slightly if it helps keep the line.
Chest moves to the wall, not the chin. Elbows back and down. Push the wall away.
Check: hips do not touch the wall before the chest. Lower back stays flat even when feet are farther back. If it feels easy, step back. If the line is hard to hold, step closer.
NHS lists wall push-ups among simple strength exercises for adults.
Table push-ups
Use a heavy support: table, windowsill or kitchen counter. Hands on the edge. Walk feet back until the body forms one plank from head to heels. Shoulders over wrists, not ahead or far behind.
Same movement: chest to the edge, elbows close to the body, hips level.
Side check: at the bottom the chest, not the hips, is closest to the table. If the surface is low and hard, raise it. If it is high and easy, find a lower one or step farther back.
Knee push-ups
Mat under the knees. Fold it if needed. Hands on the floor under the shoulders. Knees not tucked under the stomach: too close and the move becomes a hip rock. Line runs from head to knees; hips stay in line, not angled up.
Lower the chest toward the mat. Hips travel with the ribs. At the top do not let the stomach drop.
Check: if you removed the lower legs, the line from head to knees would be straight. Glutes do not sit higher than the shoulders. Knees stay neutral, weight in the hands and braced core, not in a twist.
Floor push-ups
Toes on the mat, body from head to heels. This is the same plank, only the arms bend. If you cannot hold a plank on toes, bending is too soon.
Full range as far as wrists and shoulders allow without pain. At the bottom do not rest hips on the floor. At the top do not sag.
Check: hips and chest move as one unit. Legs do not help with a hip snap. If you have three clean reps and the fourth sags, stay on knees and build.
Between levels you can also change the angle. Windowsill, sofa edge, low table, knees, floor. Dropping one support height is often harder than jumping straight to knees.
How many reps before moving up
Do not move up because you feel embarrassed at the wall. Move up on quality.
The guideline:
- At the current level you can do 3 sets of 8-12 reps.
- The last two reps feel challenging but the line stays solid.
- This happens on two workouts in a row, not once every fortnight.
- Rest 60-90 seconds between sets. If after a minute the third set still falls apart, the rep target is too high.
If 12 reps feel easy, first make the same level harder: step farther from the wall, lower the support, add a 1-2 second pause at the bottom. Only then move to knees or floor.
If you do not yet have 8 clean reps, drop 2-3 reps or go back a level. Count only full reps. A jerk with a sagging back does not count.
Stay at the level where 8-12 reps are honest. A wall that is too easy barely loads the muscles. Jumping to the floor with broken form does not count.
Elbows: why flaring hurts progress
Movie form often shows elbows pointing sideways, body forming a T. For most home workouts this adds unwanted stress to the front of the shoulder and reduces scapular control.
Keep elbows closer to the ribs. From the armpits they should point more toward the floor than the walls. Do not place hands very wide: wider hands make flaring easier.
Quick check without a coach: at the bottom, from the side, shoulder, elbow and wrist should look like a narrow arrow, not a crossbar. If the elbow travels outside the hand and shoulder, narrow the grip a couple of centimetres and consciously drive the elbow toward the waist.
This is not the same as pinning elbows to the ribs. That is a narrow-grip triceps variation. Aim for the middle: not a T and not glued to the sides.
Lower back: push-ups are a moving plank
As soon as the core switches off, the lower back turns into a hammock. The arms may still bend, but the load leaks into the lower back. This is where the fear of "hurting my back" starts.
Brace before the first rep.
- Tuck the pelvis slightly, as if zipping tight jeans.
- Lower the ribs, do not flare the chest.
- Keep glutes lightly engaged throughout the rep, not only at the bottom.
- Legs (or knees) help too: on wall and table press heels back; on the floor press toes down; hips do not hang.
If you cannot hold the line during movement, return to the static hold on the same support: 10-15 seconds of plank, then 5 slow push-ups. Do not add reps until the static hold is solid.
On the knee level the issue is often not the arm bend but a twisted position or hard floor. Use a mat, keep weight off the kneecap edge, feet relaxed behind you.
How often and where to fit it in
Adults need strength work at least twice a week. Push-ups hit chest, shoulders, triceps and, when the line is held, the core. The second day does not have to be more push-ups to failure. You can alternate with legs and glutes.
Practical home schedule:
- Twice a week, not on consecutive days if you still feel shaky after a set.
- 3 sets of your chosen level at the start of a session while fresh, or as a short standalone block.
- Leave at least one day between push-up days.
Once the level feels steady you can slot it into a home circuit without equipment. While you are still finding your level, keep push-ups separate from jumps so you can watch the lower back.
If you are building a week from scratch, see the 4-week home plan. Use the level that already passes the test at the top of this page, not the classic floor version from photos.
The day after, chest and arms may feel sore. That is not a signal to skip a level or to quit. Guidance on normal soreness versus when to reduce volume is in the post-workout soreness article. Sharp joint pain is different.
Wrists sometimes complain even with a straight back. Try turning the index fingers slightly outward, doing push-ups on fists on a soft mat, or placing two folded towels under the palms so the wrists sit straighter. If the same spot aches every session, stay on wall or table where the wrist bends less and do not chase reps through pain.
This article is general in nature and is not medical advice. If you have a chronic condition, an injury, are pregnant or feel pain during exercise, discuss the load with a doctor first. Learn more
Sources
- Strength exercises — wall push-ups as a basic strength move for beginners
- Physical activity — adults need strength training at least two days a week
- The 4 most important types of exercise — strength is one of the four main types of physical activity
Read also
Squats without mistakes: knees, back and depth
Where to put your feet, where your knees should point, whether they can go past your toes and how deep to sit. A step-by-step guide to the bodyweight squat.
Muscle Soreness After Workout: Why It Happens and What Helps
Learn why muscles hurt the day after and how long it usually lasts. Understand what actually helps at home and when to stop and see a doctor.
Glute Workout at Home Without Equipment: 6 Exercises and Plan
Get six bodyweight glute exercises and a working plan on a mat. Next: sets, progression without dumbbells and how to check that your glutes are working, not your lower back.